|
 |
Last Updated: Mar 24th, 2014 - 11:03:53 |
So you spent the day or a weekend taking a few dozen photos with your iPhone and you can't wait to get in front of your laptop or desktop computer to get the images organized.
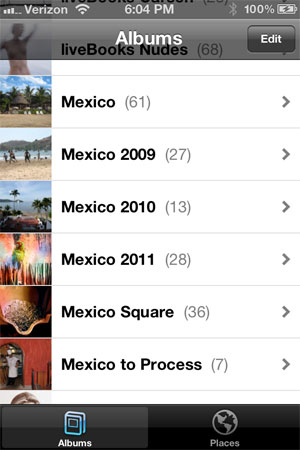
In fact, you can organize those images directly from your iPhone or iPad itself. To do so, open the Photos app so that it displays your list of Albums and tap on the Edit button in the top right:
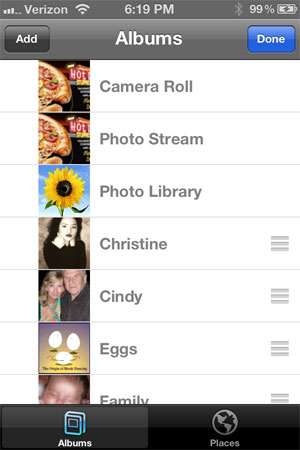
Next, tap on the Add button in the top left:
You will then be prompted to enter a name for your new album. Enter an appropriate title and tap on Save:
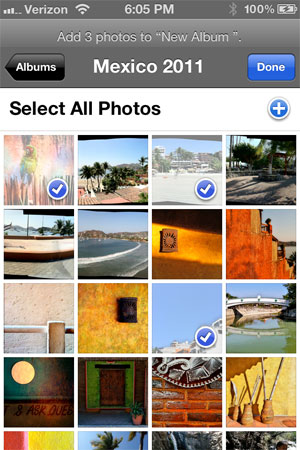
Now you'll want to choose an existing album from which to select images. More often than not, this will be either your Camera Roll or Photo Stream. Select the images you want to add to the album by tapping on the thumbnails and then tap on Done.
And there you have it. You now have a new album containing the images of your choice and the album will appear at the bottom of your Albums list. The images you added will remain in their original albums, so don't worry if you decide to delete the album you just created and want to start over.
This article brought to you by PHOTOWORKSHOP.COM. Let us know if you found this article useful and tell us what kinds of articles you'd like to see in upcoming issues. Send your comments and ideas to the editor.
Top of Page
|
|